Thursday, 27 May 2010

It's all black & white

This is the card, envelope and gift voucher wallet I have made for my friend's wedding tomorrow.  I haven't really used black and white before but rather liked the simplicity of it.  I decided to have a go at a Joy Fold Card having seen them on people's blogs previously.  The envelope was made using the MS Scoring Board Envelope Maker and lined with co-ordinating paper.  I also made a card for the vouchers to go into inside the wallet out of the same embossed card as can be seen in the bottom photo.


I would like to enter the following challenges please:-

Craft Challenge 51 - Celebrate/Birthday - Wedding
Stamp Something 2 of Something - 2 Birds
Sew Many Challenges Wk 15 Anything Goes
One Stitch at a Time Challenge 14 Furry Friends - Birds
Magicial Crafts Challenge 15 Black, White & One More - Black , White & Silver
Choccy's MSE Challenge - Homemade Flower on Gift Voucher Wallet


Supplies used:-

Cardstock - Papermill
Embossed Card - Craftwork Cards
Backing Papers - Craftwork Cards
Bird Punch - Stampin Up
Envelope Paper - Doodlebug Design & lined with Craftwork cards paper
Flower - Stampin Up Scalloped Punch & Card Candy

Wednesday, 19 May 2010

Let there be music & money

Over on MSE ScattyJan set the latest challenge with the theme of musical.  Having been racking my brain for the last fortnight for the theme for a card for a friend's birthday Scatty offered it to me as my friend plays Viola in the Orchestra.

My next problem was I couldn't find a digital picture of a violin (gave up on Viola as I kept getting plant pictures) and the craft shops I went to didn't have a stamp or peel off of one either.  I therefore ended up printing a picture of one off and using it as a template onto some of the backing paper.  Once layered I realised this didn't look right so out came the promarkers. 

I'm pretty pleased with the card overall.  If I'd had more chance to get supplies I would have got a stamp of a violin and some shimmer type paint to use.  Hopefully my friend will like it as she is certainly not into "pretty and pink" so this is much more up her street.  The paper seemed to have notes both ways up but this way had the wording the right way up so I am hoping I got it right, please don't tell me if I didn't!

I would like to enter this card into the following challenge:-

MSE Musical Challenge set by ScattyJan


As it is said friend's 40th, not something she wants reminding about thus the lack of numbers, we have got her some John Lewis vouchers.  I wanted to fancy them up and so decided to make an envelope.  I decided to set myself the challenge of only using one piece of paper for the lot. 

I wanted something to go with the Gift Voucher card itself and also something not pretty and girly.  The paper was double sided so I used the reverse side for one strip of the "ribbon" effect.  For the paper flower I alternated which side of the paper I used.  I will certainly be doing more of these for money or vouchers as they were really easy and I think quite effective.

I would like to enter this into the following challenge:-


Tuesday, 18 May 2010

Stampin Up Cards

I had fun last week at another card making class where we were making a variety of cards. 

The first card we made was using stamps out of the mini catalogue and I love this set and colours.


This next card is a really cute card, again using stamps out of the mini catalogue.


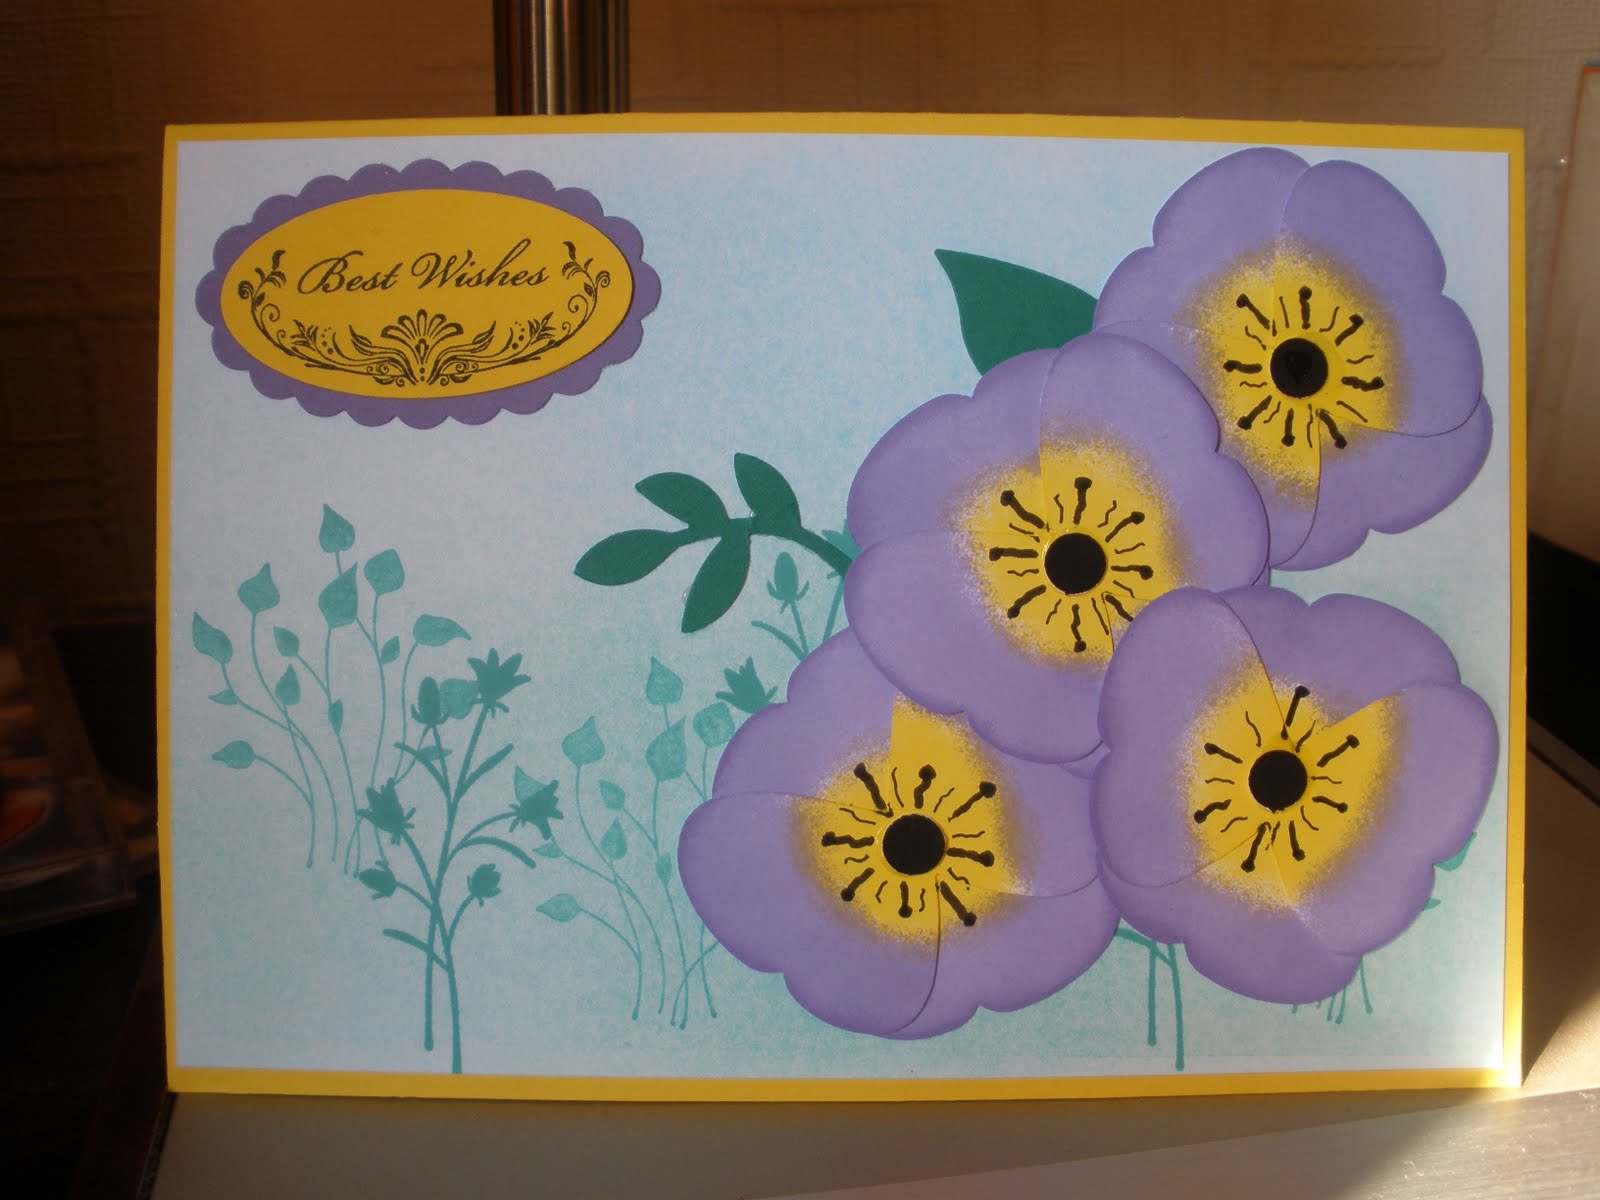
The last card was just to show another use for the butterfly punch i.e to make the pansy.  It was good to practice using different items but certainly isn't a card I would find myself making again.  The colours are certainly not ones I'd use but they are retiring stock from Stampin Up so she is using up supplies, think this is definately one for the great aunt!

Techniques Class

These are some cards I had great fun making at the techniques workshop I have now been to twice.  The first one we made was using shaving foam and I must admit I was very sceptical but actually love it. 

You spray the shaving foam into a plastic box.  Add some colours from re inkers and then swirl with a lollipop stick.  Once you are happy with the pattern you lay your piece of paper on top and gently rub over the back of it.  Once you are happy with it you lift it off and wipe the excess foam off and leave to dry. 

The first is the sample piece I did.  I actually think this colour way would look great with a rocket or witch silhouette.  The second is my actual card which I then used the Stampin Up Butterfly punch to decorate.


The next card we made was using the Brayer technique, gosh that's hard work.  I loved the effect you get and was really pleased with my card I made.


Tuesday, 11 May 2010

How does your garden grow

This card is for my parents wedding anniversary today.  With sorting out the storage cupboard at the weekend and making Rusty's card yesterday it ended up being rather a last minute make, I am still pleased with it though.  Had I had more time I would have done another layer of fencing and put glossy accents on the flowers but by 10.30 last night my hand was starting to cramp.  They aren't the sort for cuddly bears but love the garden and have wonderful pots in the summer so this image was perfect.


Supplies used:-

Card Stock - From stash
Backing Papers -  DCWV Sweet stack
Image - Supplied by the lovely PepPop on MSE
Ribbon - Grosgrain from Poppicrafts

Monday, 10 May 2010

What a mare!

I wanted to make three cards and because time was a bit short, and only one needed to be sent, I decided to be clever and combine three cards in one, bad mistake. Following the sketch on Magical Crafts Challenges I set about deciding on my image. I soon realised that I had either a suitable image but not the promarker colours to solour them or they would not fit within the sketch parameters. I therefore decided to take my inspiration from one of my new paper packs but after all the work I’m not sure that the card works C’est La Vie! I’ve even had to blog this twice as I managed to completely muck that up right at the end.

I would like to enter this card for the following challenges please:-
 
Rainmac’s Rusty Challenge
Magical Crafts Challenge #14 – Sketch Followed


Materials used –

Card Stock – Anita & Stampin Up
Backing Papers – Penny Lane My Minds Eye
Stamped Flower – Stampin Up One of a Kind with Stickles
Punched Flowers – Stampin Up Boho Blossoms Punch
Sentiment – Peel Off and Stampin Up Oval Punches
Gems - Stash

Wednesday, 5 May 2010

Baby Boy Card

Having seen Rainmac's wonderful card on MSE I was inspired to have a go at a step card especially as I now have a MS Score Board. 

The actual making of the card base was very easy and I was happy with the front two steps but am not overly happy with the main picture.  I couldn't find my little clothes pegs, think in loft with Christmas Decorations, and so had to make do with improvised ones.  I think the card would be better with a picture rather than the washing line design but my Promarker colours are too bold for this card.

I would also like to enter this card for Padster's 3b's challenge please.  I have Baby Boys Card with Blue Backing paper and Blue sky effect.  On the washing line are Brown pegs and Blue Bodysuits.  I then have Blue Buttons on Braid and Buttons in my sentiment.  On the front step is the word Baby as well as 2 Blue Bottles.

Challenges I would like to enter:-

Padster's 3b's challenge
Quixotic Challenge #24: Oh Baby!

Friday, 30 April 2010

My First Bear

Needed to make my Sister in Law a birthday card but also wanted to enter the Prima challenge on Creative Craft World.  This is the first challenge I have entered other than on MSE so I hope I do it right.  2 of the lovely ladies on MSE supplied me with Prima flowers, and it was a good job I had spare as I changed my mind twice.  I would also like to enter this for the current MSE challenge 3b's.  The colours aren't ones I would normally use but as I needed to use my Promarkers to colour the flowers I had limited choice.  I also would normally have used Happy Birthday but my peel offs won't fit within the smaller oval punch.

I'd like to enter this into the following challenges:-

MSE Padster's 3b's Bear, bow, box, blooms and border


Materials used:

Card Stock - Anita
Backing Paper - DCWV Glitter Sweet Stack
Bear - Coloured with Promarkers and Stickles (Stamped by Flourgirl)
Flowers- Prima coloured again with Promarkers to match picture (Supplied by Skiergirl & Choccy)
Sentiment - Anita and layered using my new Stampin Up punches
Misc - Grosgrain ribbon from my new Poppicraft stash and card candy colured with Promarker and stickles

Tuesday, 20 April 2010

Having a play

I needed to do a card for my brother in law and as much as I hate doing cards for men I decided I would have a go.  He is into bicycles and motorbikes so was going to print off a colouring sheet and colour in.  Pretty soon realised that I didn't have enough Promarkers, note to self must rectify that very soon. 

I found a picture I liked and printed it off in black and white.  As I had enlarged it it came out rather pixalated (spelling?) and greyish as ink is low but it wasn't as problem as I went over it both sides with promarker. 

I had seen someone do a card with acetate, please tell me if it was you as I can't find it in the blogs, so I decided to try this but layer it on mirror card. 

The wasteland is actually stuck onto the mirror card and the bike and mud splats are mounted on black foam on the acetate. 

I can't take the merit for the mud splats that was my DH.  When I showed him the card he said it needed to show some movement and cut the mud splats out for me and positioned them.  I was going to put a Happy Birthday on it but couldn't work out how best to do it so decided against it. 

I discovered in doing this though just how hard it is to photograph mirror card without photographing yourself!


Card Stock - Mirror Card by Anita
Acetate - Stash
Image - Picture off internet coloured with black Promarker
Other - Stick It Black 3d Foam Dots

Using those spensive papers.

This card is for Melissa one of the ladies over on MSE.  Hopefully it has arrived by now, but if not sorry.  I wanted to use some of my new spensive papers and also have a play with my new stickles, slightly over did them but never mind I'll know for next time.


Cardstock - Papermill Managers Special
Backing Paper & Gems - Stash from Dawnteabag for NEC Cake Challenge
Ribbon - Start up stash, again from the lovely MSE ladies
Pink Cardstock - Scrap bundle from Crab Apple Crafts
Cake Paper - DCWV The Glitter Sweet Stack with extra stickles


Wednesday, 14 April 2010

My first easel cards

I was desperate to have a go at easel cards having seen one on display at a workshop. With two birthdays over on MSE and struggling to think what to do I decided to have a play. I saw this lovely paper, I have a soft spot for butterflies, and went from there. I seemed to spend an age trying not to over titivate but am not sure whether it looks classy or like it's missing something. The only sentiments I had were ones I had stamped and punched at a workshop and they were too big. I therefore cut them down and layered them which I think looks ok.


Paper & Cream Card - Local Craft Shop
Coloured Card - Bazzill
Stamp - All a Flutter Stampin Up Mini Catalogue
Sentiment - Oval All Stampin Up Main Catalogue

Oooohh I have fallen in love with Promarkers and Tinkerbell

Realised it was my friend's daughter's birthday about 45 mins before going out the house so had to do a rush job.  I had been desperate to have a go with my promarkers and decided this was the perfect opportunity.  I decided after colouring her in though she needed a bit more sparkle, thus the stickles on her wings and gems on her shoes.  I was really pleased with the result even if I did have to use the hairdryer to spead up the drying of the stickles.


Stamp:- EK Success Tinkerbell
Coloured with:- Promarkers
Paper:- Best Creations Ltd Once Upon a Dream
Sentiment:- Donated to me

Spendy elves have been at it again!

On our way to my brothers at the weekend I finally got to stop at the Boundary Mill and have a nosey around.  Next time I shall definately be going on my own as I had to send DH off to the coffee shop with the children so he didn't see how much I spent!  I don't feel as bad as yesterday I saved us over £100 on his van insurance.  The first picture is a mixture of items I bought including card blanks, peel offs, stickers, mirror card and a paper trimmer which I desperately needed.


This next picture is of my lovely 'spensive papers.  The Penny Lane ones I think were a really good buy at £12.99 but the other pack was very frivolous at £19.99, but sometimes a girl just falls in love.


Our afternoon was spent with me trying not to have a heart attack as Erin played being a mountain goat clambering up rocks.  We went to a wonderful place called Brimham Rocks.  Connor was happy to just climb up rocks at a sensible height, where as Erin (4 last week) wanted to go right to the top and if she couldn't manage it she got Daddy or Uncle Ian to lift her. 


Tuesday, 6 April 2010

Can't believe she's 4 today!

Well our darling Princess Erin is four today, where have those years gone?

As her birthday falls in the Easter holiday she had her parties a couple of weeks ago so we had a low key day with cinema, restaurant and park.

To continue her Princess theme I had cheated and ordered a decoupage kit from the internet. This turned out to be one that had obviously been printed off on a home computer so it needed jazzing up a bit.

The main card and castle background card are both pearlescent card. The matting card is just pale pink cardstock and the silver hearts are from Mad About Cards. I stuck small gems in the corners and used stickles to jazz up the decoupage. I think it needs an edging punch or something similar but Erin loved it so I was happy.

Monday, 5 April 2010

Oh No Another Boy Card!

Well ok a man's card. This is a birthday card for a good friend of ours. He's not easy to get a card for as his eldest daughter can now read, so rude ones are out of the question, and he doesn't like any sport.

Two things he loves though are Family Guy and anything to do with any war etc. I therefore went looking for a picture that would combine both of these that I could decoupage. I was rather pleased with the result even if I was fed up with tiny foam pads by the end of it.